We did the only proper thing to do on the day before Halloween and planted an entire row of garlic. It's important to keep those vampires at bay on Halloween night! If by chance you don't have any vampires hanging around your house, garlic is still definitely worth planting.
Here's why you should plant it-
First, it's delicious. Second, it's easy to plant. Third, it's delicious. Fourth, it's renowned for it's healing properties. According to Growing Vegetables by Kim Rowney, garlic was used in World War II to dress soldiers wounds and it was said that Roman soldiers ate it to keep their strength up. Today it is considered a disinfectant because of its high sulfur content. Fifth, it's renewable- you can save some of the heads every year to planted the next year. Sixth, garlic is just downright delicious in all kinds of recipes.
You'll want to plant garlic after the first frost when the soil has cooled down. We had early spring peas planted in this bed, planted buckwheat in it as a cover crop over the summer, and then hand-tilled it to get it ready for the garlic this fall.
Last year we bought cheap heads of garlic from the garden section of the supermarket that didn't do very well. This year we bit the bullet and bought quality garlic from a garden catalog. There was a vast difference in the cloves. They were huge and plump, instead of like the itty-bitty dried out supermarket variety that looked like it had been sitting in an attic collecting dust for several years. Because we'll be able to save heads of garlic every year after our initial investment, we definitely thought it was worth it!
However, life experience has brought this wonderful garlic tip to you-
Garlic Tip: Check at your local farmer's market for garlic heads from local farmers before you buy them online.
Right after we had received the other garlic in the mail, I was wandering around the farmer's market when I stumbled upon a local Amish family selling none other than these big, beautiful, purple striped heads of garlic. They said they were a German variety called Music that grows heavy bulbs and stores well. Not only were they cheaper, but because they were grown locally, I knew that they would grow well in our Indiana climate.
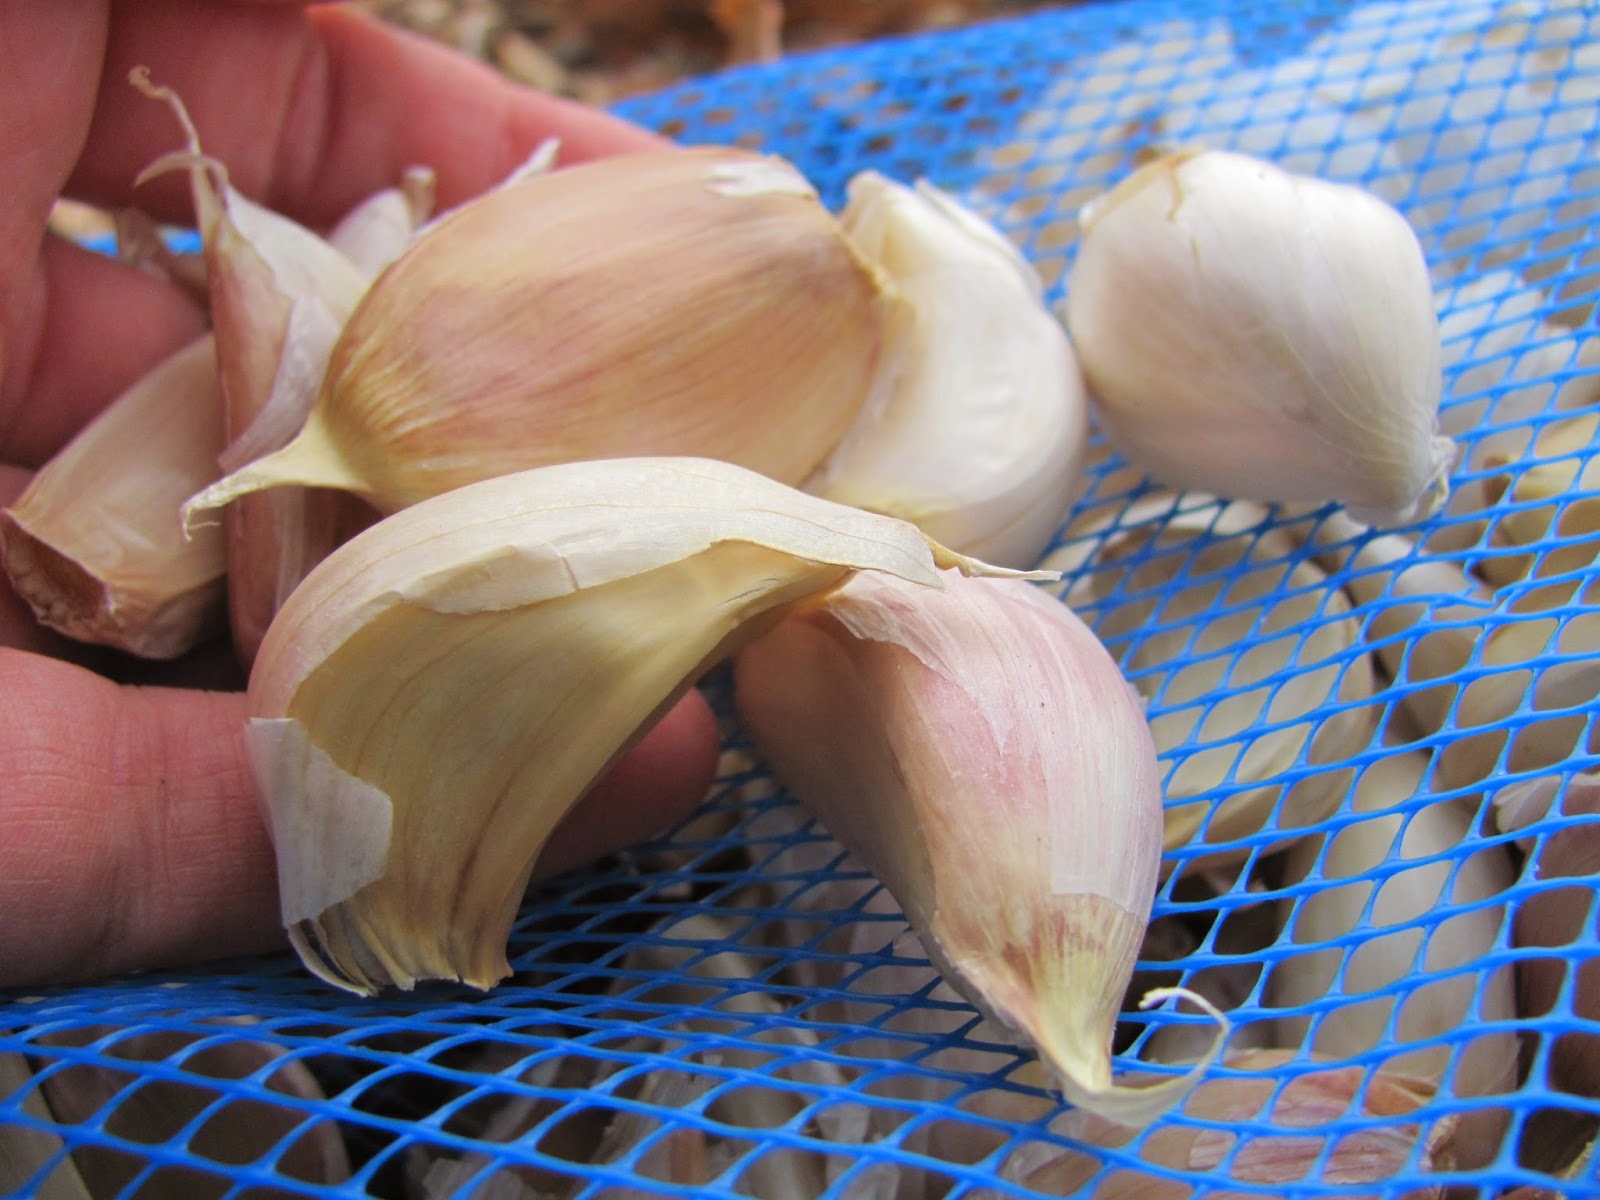
Aren't the cloves pretty? (It doesn't hurt that it was sooo much cheaper than the garden catalog variety too!)
Plant your garlic cloves in rows spaced eight inches apart. In each row your cloves should also be spaced eight inches between one another. (As you can see the garlic cloves in the actual rows are spaced more like ten inches apart- we like to bend the rules.)
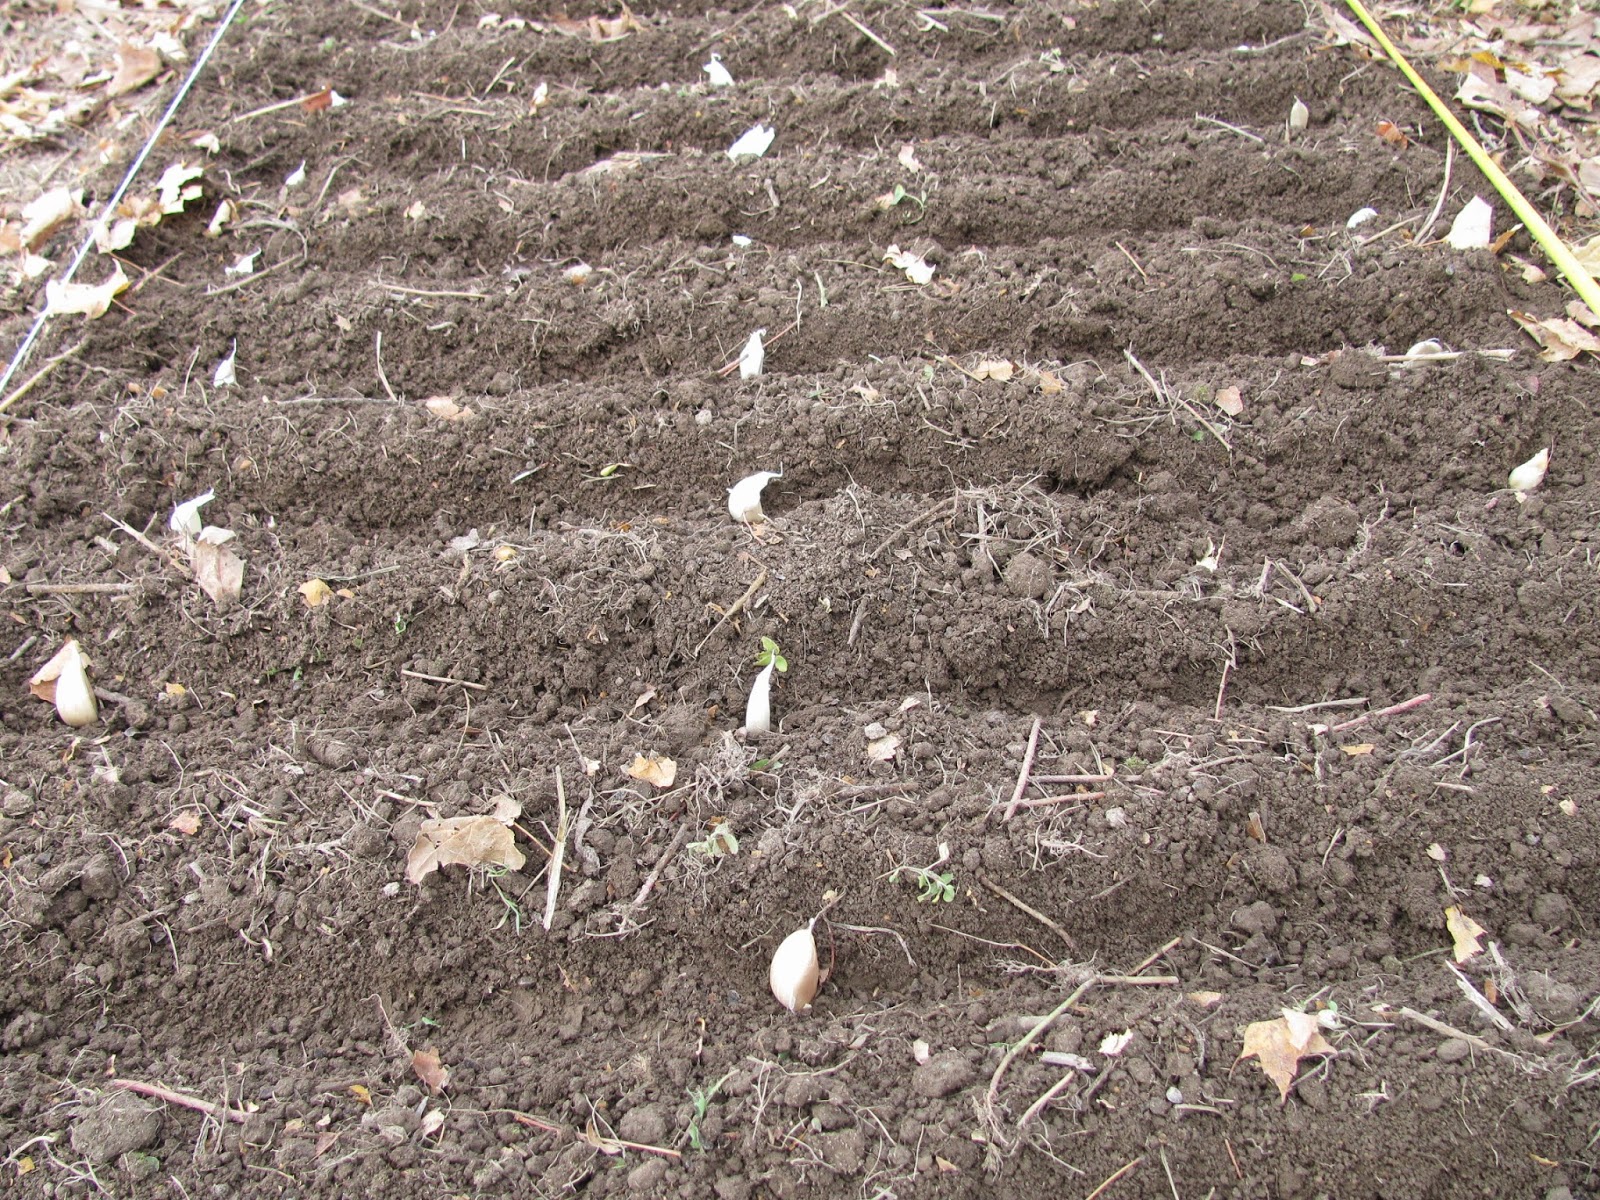
You'll want to cover your cloves with two inches of dirt, that's why we have ours tucked into these trenches
After you cover your cloves with dirt, you need to cover them with six inches of mulch to keep them protected over the winter. We applied a nice thick layer of shredded leaves because we had a plethora of them sitting in our yard, they add nutrients to the soil, and you can't beat the lovely fall color!
Small green shoots will come up in the spring, and you'll be able to harvest your garlic early to mid summer depending on the variety.
Sunday, November 16, 2014
Thursday, September 11, 2014
Warm Tomato Salad
We can always count on our cherry tomatoes to produce, so I am constantly looking for ways to use them up. This salad was inspired by a dish James and I had in a restaurant one time; the flavors are simple, but boy is it delicious. It also doesn't hurt that it is super easy to put together and looks gorgeous on a plate!
The necessities:
-Your favorite variety of cherry tomatoes
-Fresh garlic
-Olive oil
-Salt and Pepper
-Fresh Basil
Slice your tomatoes in half, or in quarters, whatever suits your fancy, and mince your garlic.
Drizzle 1-2 tablespoons of olive oil in a pan and add your garlic. Cook it for a few minutes and then add your cherry tomatoes. Cook for another 5-6 minutes.You want the tomatoes to be warm, but you also want to retain their firmness.
While your tomatoes are cooking, chop your basil into pretty ribbons.
Pour your tomato and garlic mixture into a dish, sprinkle with salt and pepper, and garnish with the basil. Enjoy!
Tuesday, September 2, 2014
Putting Up Carrots
James' favorite phrase this summer has been, " (insert vegetable) for days." So whenever we are harvesting anything from our garden, he'll say something like, "Carrie, we've got carrots for days, carrots for days." Well, he was dead on. I peeled and processed carrots. For. Days.
Our carrots did abnormally well this summer and we dug up around 50 pounds of carrots.
This is what we had left after peeling for two hours! It took me two days to get them all peeled.
All peeling aside, there's nothing quite as nice as homegrown carrots.
Ready to process.
Thank goodness for our food processor that made easy work of shredding and chopping our carrots!
This thing makes me dance. Any time you can get out of chopping 50 pounds of carrots is a moment that is worth dancing about!
I blanched and froze several bags of carrots. I like to use the shredded carrots to toss into baked goods and the chopped carrots for soups. (Recipes to come!)
If you can can green beans, then you can can carrots!
I used the hot pack method by boiling the carrots in a large stock pot with water for about five minutes. I pulled the jars I had warming in my pressure canner out, put 1/2 teaspoon of salt into each jar, and then poured my hot carrots into them. You will want to leave 1 inch of headspace and remove any air bubbles, so that your lids will seal properly and keep your food from spoiling. Carrots need to be pressure canned at 10 pounds of pressure for 25 minutes (or 30 minutes if you're using quart jars).
I'm not sure how I'll go about using all these canned carrots, but can't wait to pull them out in the dead of winter and start experimenting!
Saturday, June 28, 2014
Old Fashioned Strawberry Jam
Strawberry jam reminds me of my sisters. When we were young, my mom would load all six of us girls into her red suburban, which we lovingly named Ida Red, and drive us to the local berry picking farm. With twelve little hands picking we easily filled up several cardboard crates with piles of juicy red berries. Unfortunately, when we got home my mom didn't just have thirty or so pounds of berries to put up, but also several pairs of hands, knees, cheeks, and outfits to scrub the bright red juice from! Berry picking was messy business.
That's why this jam reminds me of my family. It's an old fashioned jam without any pectin, so it's not like the perfectly thickened jam that pectin produces. It's messy and more like a strawberry sauce, which begs to be drizzled over hot rolls, vanilla bean ice cream, and of course, little hands and faces!
Old Fashioned Strawberry Jam
The Necessities:
8 cups of crushed berries
6 cups of sugar
8 half-pint jars and lids
Large stainless steel pot
Yes, that's really all you need!
You'll need eight cups of berries. We like chunks of strawberry suspended in our jam, so we dice them. My mom saved time by hulling the strawberries and pureeing them in her blender. Either way, you can't go wrong!
Add your strawberries and six cups of sugar to a stainless steel pot. Don't skimp on the sugar, it's a natural preservative that keeps your jam from spoiling!
Place your pan over medium high heat and crush to the desired consistency.
It's about impossible to get a decent boiling picture! Anyways, bring your mixture to a boil until it thickens. It took about twenty minutes until it came to the thickness my family likes.
Once your jam is thick, ladle it into hot jars. Swipe a wooden skewer around the inside edges of the jar to get rid of any air bubbles. Wipe any excess jam off the edges and put the lids on. Place the jars in a canner, make sure there is an inch of water covering the tops of the jars, and process (boil) for ten minutes.
Pull the jars out of the canner and let them rest on a tea towel overnight. You should hear the lids "ping" as they cool down and seal.
Oh so good!
*This recipe can be found in the Ball Blue Book of Canning
Welcome!
My mother-in-law, Cindy, gave me this beautiful sign for mother's day and every time I read it, I thought about how it would be the perfect title for a blog about gardening and country life. I finally gave in. Welcome to my blog with stories about the Indiana countryside, gardening, food, chickens, and canning!
Subscribe to:
Posts (Atom)